Direct Structural Crack Injection - from hairline width upwards
How to inject directly into masonry and wood cracks - summary for a range of crack widths
1. Clean the crack using either a sharp, pointed tool, grinding wheel, cutting disc, Allsaw or rotary saw.
2. Remove all dust by brush or vacuum.
3. Push the injection needle or nozzle (diameter chosen according to crack width) to the base of the crack and slowly inject resin
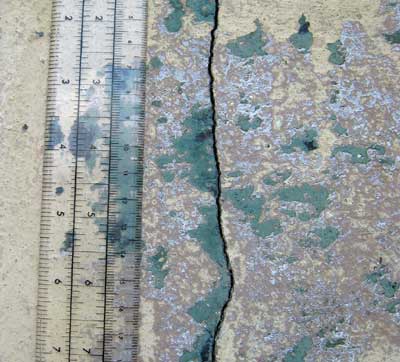
Crack in Concrete - drill and fit injectors.
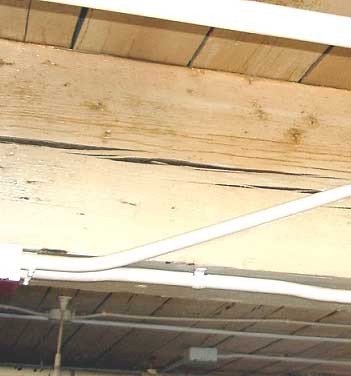
Split in wood - drill and fit injectors.
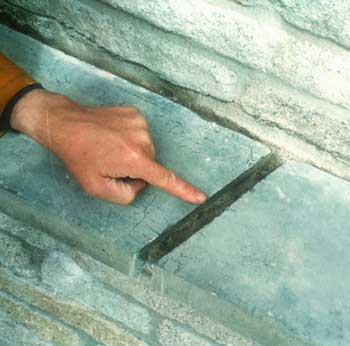
Slot cut out wide, ready for filling.
or Click here to visit our Order Page
How to choose a crack repair method and material by Crack Width
Using Epoxy Primer/Consolidating Liquid, which is thin and will flow on its own or Thixotropic Injection Resin which is like Vaseline and does not run - this is also available in a slow set version - which only starts to set after 2.5 hours
Hairline Cracks - less than 2mm wide - indirect, fill Syringe Method, with fine needles, or cut out to 5mm +
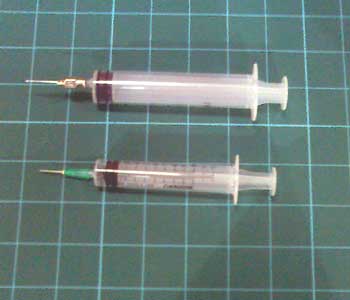
Syringes for very fine injection.
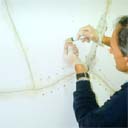
Injecting cracked render with Syringe - no needle fitted.
Syringes with needles - use Thixotropic Epoxy Slow Set (non slump),
or Epoxy Primer (runny) without needles, pushed into 4mm holes at 50mm centres.
For Voids inside masonry walls, or concrete, Inject Polyurethane Liquid - using Syringes, no needles. The Polyurethane reacts with moisture inside the wall, expands rapidly and sets within 5 to 15 minutes.
2mm to 4mm - direct Cartridge Injection Method, with 2mm needle, or cut out to 5mm +
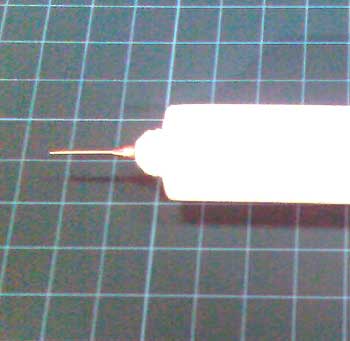
Needle nosed - 2mm diameter - 400cc cartridge tube.
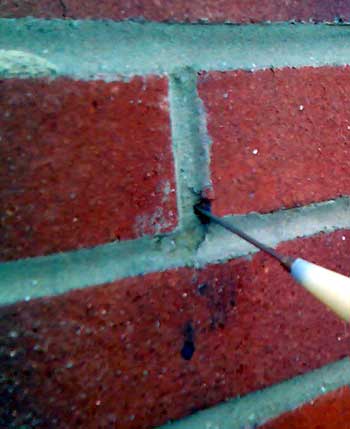
Injecting a brickwork joint using the Needle Nosed Cartridge.
Needle fitted to 400cc Cartridge - use Thixotropic Epoxy Slow Set (non slump).
Injecting a brick joint with Thixotropic Injection Resin - natural buff colour
5mm + - direct Cartridge Injection Method, with plastic pointed nozzle, or cut out to 10mm +
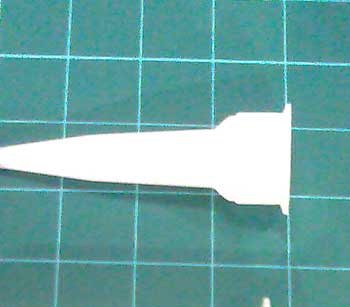
Pointed nozzle - cone tip - for 400cc cartridge tube.
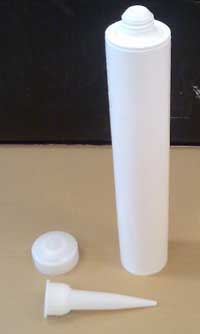
Cartridge tube, cone nozzle and piston - 400cc kit.
Cone pointed plastic nozzle for 400cc or 1000cc - cut to 5mm hole diameter
Cartridge - use Thixotropic Injection Resin or Slow Set version
General principle - where possible, for the strongest repair, cut out the cracks with a saw, Router, masonry grinder, or Allsaw, to form square edged slots, and remove all dust and debris. Avoid V shaped slots - the repair will be much weaker.
Repair Thickness - the more material that we can put in to the repair, in terms of width and depth, the better it will be able to accommodate natural movements caused by changing temperatures and therefore the better it will last.
Caution - Always consult a Structural Engineer and the building's Insurers before proceeding. It is important to establish and eliminate the underlying cause of the cracking before Injection, otherwise further cracks are sure to appear.
Tell Tales - install our Tell Tail plastic crack movement measuring units and monitor for 3 months, if you are not sure that movement has ceased.
How to make concrete and wood cosmetic Injection Repairs - matching of colour or texture
1. Using Thixotropic Injection Resins - standard or slow set - colour options:
- basic resin colour - sand/buff - matches yellow/light brown
- grey - Additive - pour in pigment in resin base
- red - Additive - pour in pigment in resin base
2. Using Moldable Epoxy Putty - colour options:
- basic resin colour - sand/buff - matches yellow/light brown
- grey - add black Mortar Powder - mix powder into the mixed product
- red - add Red Mortar Powder - mix powder into the mixed product
- white - add White Mortar Powder - mix powder into the mixed product
3. All Products - obtaining colour and texture over a repair using original Site materials:
- grind up stone, brick or mortar to a dust - apply to the wet product surfaces
- or apply to an additional wet coat of Epoxy Primer after the injected product has set
How to repair floor to wall joint cracks
Floor to wall Joint Filling
Cut out the floor to wall joint, in the floor itself, with a masonry grinder or disc cutter, to form a square edged slot and remove all dust and debris. Wet out the slot with fresh water and prime with BondAcryl.
Cut out to - 20mm plus in width - can fill a slot of any size.
Insert a waterproof pointing mix of either Fillet Seal (supplied as a powder) or BondAcryl mixed with sand and cement (no water).
Fillet Seal Powder - available in 25kg packs, or use Bondacryl with your own washed sand and cement - supplied in 2.5, 5.0 and 25 litre bottles.
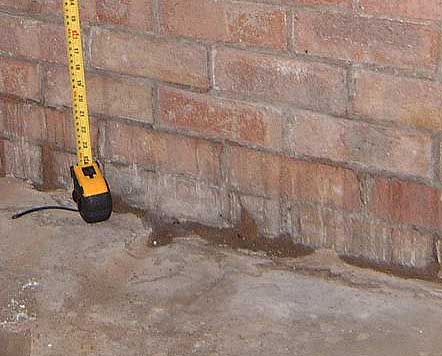
Water escaping at a floor to wall joint.
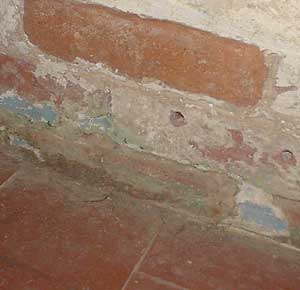
Neatly filled floor to wall joint.
Typical floor to wall joint problems - cut out the floor edge and fill. May require 'tanking' as well.
Mix up a mortar of 4:1 sharp, washed sand with fresh Portland Cement, using BondAcryl instead of water. Apply the mix to the primed slot and finish flush.
OUR Order Page
- RESINS Order Page - this Site, for Epoxies and other building repair resins
- TANKING Order Page
- SURVEYING TOOLS Order Page
- MEMBRANE FOR DAMP WALLS & FLOORS Order Page
- FIRE PAINTS Order Page
- RUST CONTROL Order Page
Contact I History I Links I Privacy Policy | Returns Policy I Resins Order Page | Technical | References

Property Repair Systems
T: 01626 872886
E: Mail us help@propertyrepairsystems.co.uk
Site written by: David Moore
David Moore, B.A. (Hons.), C.T.I.S., C.R.D.S. Technical Author
Google+
Other Property Repair Systems Sites:
www.drywallandfloor.co.uk - membranes for lining damp walls, floors, basements and cellars
www.fire-door-paint.co.uk - upgrade doors to 30 minutes fire resistance
www.joist-repair.co.uk - how to quickly repair joists and beams of any size
www.propertyrepairsystems.co.uk - our Home Site
www.steel-fire-paint.co.uk - treat steel with Intumescent Paint to provide fire protection
www.timber.org.uk - systems of repair, with step by step methods
www.timber-repair.co.uk - how to repair timber beams